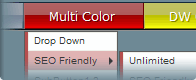


 Flash menu. One of the main things you must determine when designing a web site is what kind of menu you will use to make it easy for your visitors to find their way around the site. You need an intuitive, professional, and fast-loading menu. SEO friendly and good looking.
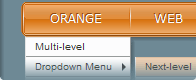
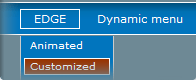
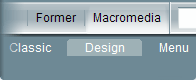
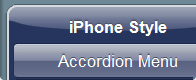
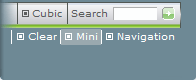
Flash technology offers the best and richest multimedia experience and we know a way to make the flash content accessible to search engines. HTML links + Flash menu. The menu navigation settings represented in the form of standard HTML links, well-known for search engines, but your visitors will see only well designed and animated flash menu.
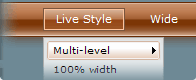
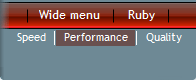
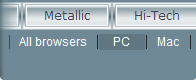
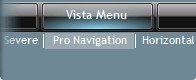
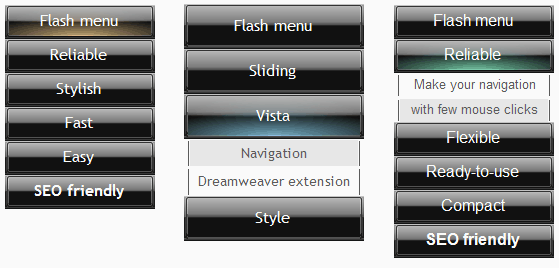
Vista Sliding Menu. This dreamweaver extension provides you with professionally designed sliding flash menu.
The trial version is a fully functional flash menu, however you cannot edit the first button of the trial version. Try the menu before you decide to buy.
The paid version has no limitations and provided with technical support. All updates and future versions of the menu extension are free.
If you have Adobe Extension Manager installed, just double click on MXP file to start installation of the menu.
If not, please download the Extension Manager first.
Extension Manager for Dreamweaver CS6
Extension Manager for Dreamweaver CS5
Extension Manager for Dreamweaver CS4
Extension Manager for Dreamweaver CS3
Extension Manager for Dreamweaver 8
Restart Dreamweaver when you finish the installation of the menu.
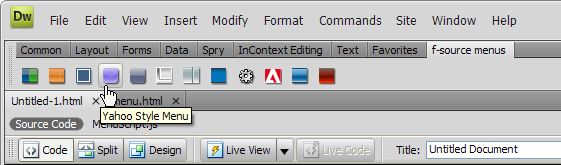
1) "Insert" ==> "f-source menus" ==> "Vista Sliding Menu"
2) "Insertbar" ==> "f-source menus" ==> "Vista Sliding Menu"
3) Press Ctrl+Shift+F


Press the "Insert" button to add the flash menu on a page. The DIV id="f_source_navigation" containing the whole menu code will be inseted in the insertion point or a DIV selected in the user interface. All necessary files will be placed in the {Menu_Name}(e.g. "Adobe_Style_Menu") folder.
Important! For local testing you need to add trusted location in the online 'Adobe Flash Player Security Setting Manager'
(No changes needed after upload on server)
Once the flash menu is inserted, the menu editor can be called via right click menu in design mode.

Detailed User Interface description